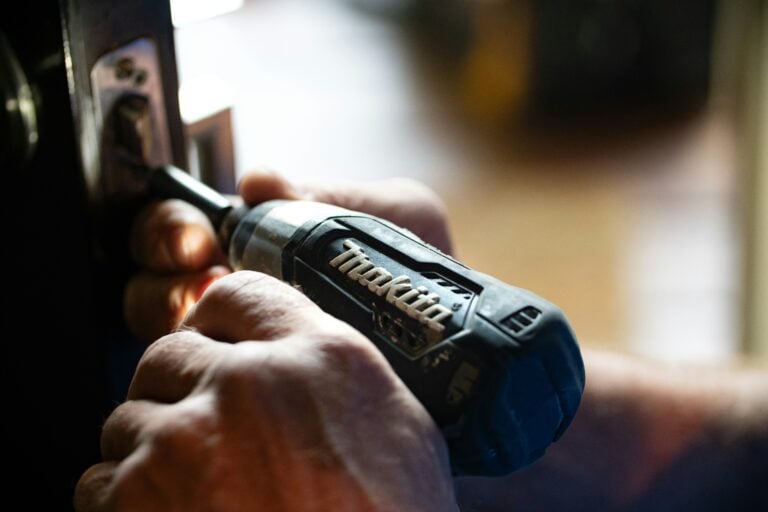


Tool-Time, Revisited: A Riveting Column
Last month we opened focused on the cordless drill: its history, and some of its valuable and, dare I say interesting and creative, uses. But this month, dear reader, I’m bringing you into my world as a commercial locksmith and how I teach apprentices.
Together, we’ll install something that any home I’ve ever been in has: a door lock.
We’ll be learning some lock terminology, so we’re speaking the same language and we’ll go over the tools you’ll need. Welcome to the jobsite. Let’s get started.
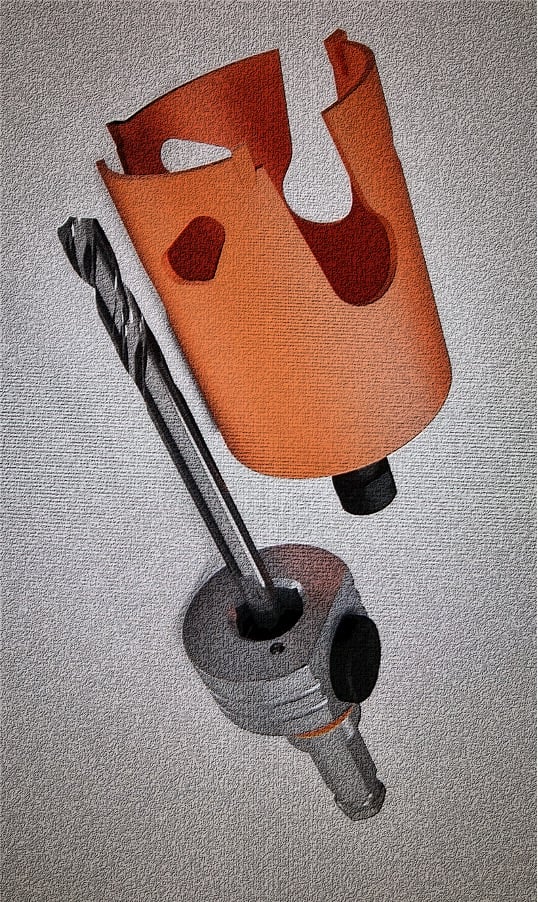
Image created using GeminiAI
Project: Deadbolt Lock Installation.
You have a doorknob on one of the doors at the house and have decided to add a second lock — a deadbolt — for added security.
You’re going to need additional tools to go with your cordless drill
• a 2-1/8″ hole saw with an arbor that comes with a ¼ inch drill bit;
• a 1″ Forstner, or Paddle, drill bit;
• a 1/8″ drill bit;
• a sharp 1″ wood chisel;
• a hammer;
• a roll of 2″-wide blue painter’s tape:
• a pen;
• a T-Square;
• a razor knife;
• and a tube of red lipstick. Yes, I said lipstick.
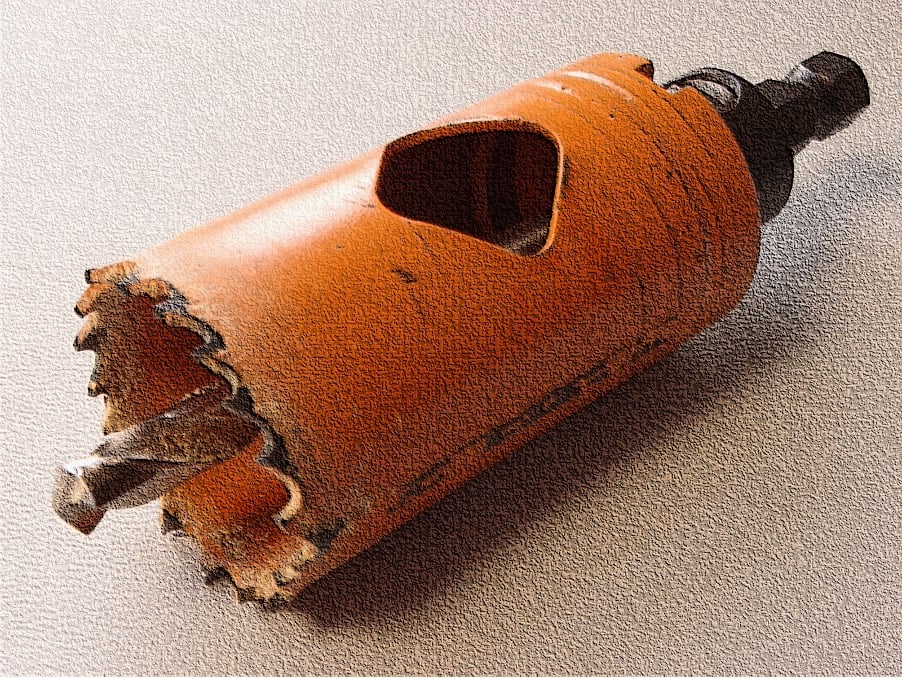
What’s a hole saw? An arbor? A Forstner drill bit and a T-square? We’ll find out by using them. The hole saw creates the cross bore, the round, tubular hole which allows the lock chassis to go into and mount to the door. The Forstner or Paddle bit creates the latch bore, another round bore drilled into the narrow horizontal edge, which allows the latch bolt to align with the lock and secure the door.
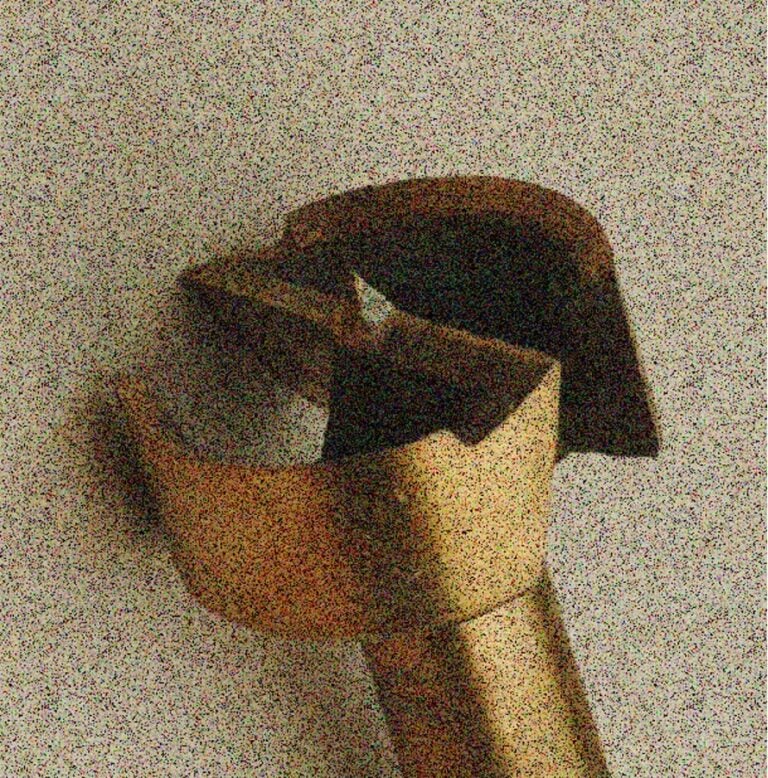
Forstner drill bit. Original photo by Emrys2. Texture added using MSWord Tools.
Let’s get started.
Rip off 8 inches of the painter’s tape and wrap it around the edge of the door vertically above the doorknob latch. Take your T-Square, which is essentially a ruler with a straightedge and small knob to tighten the ruler into place, and measure up from the center of the doorknob latch 5 inches keeping one of the straightedges against the door. Mark the measurement with your pen.
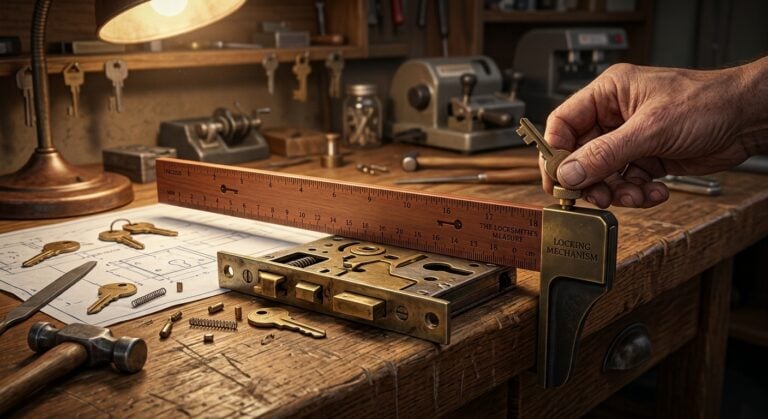
Image created using GeminiAI.
Then, take the T-square and draw a horizontal line — the elevation — across the door edge at your mark. Then measure the thickness of the door and mark the center on your elevation line. This is where your latch bolt will go.
Tear off two more pieces of tape and place them horizontally across the outside and inside of the door. With your T-square transfer the elevation line from the edge across both the inside and outside of the door.
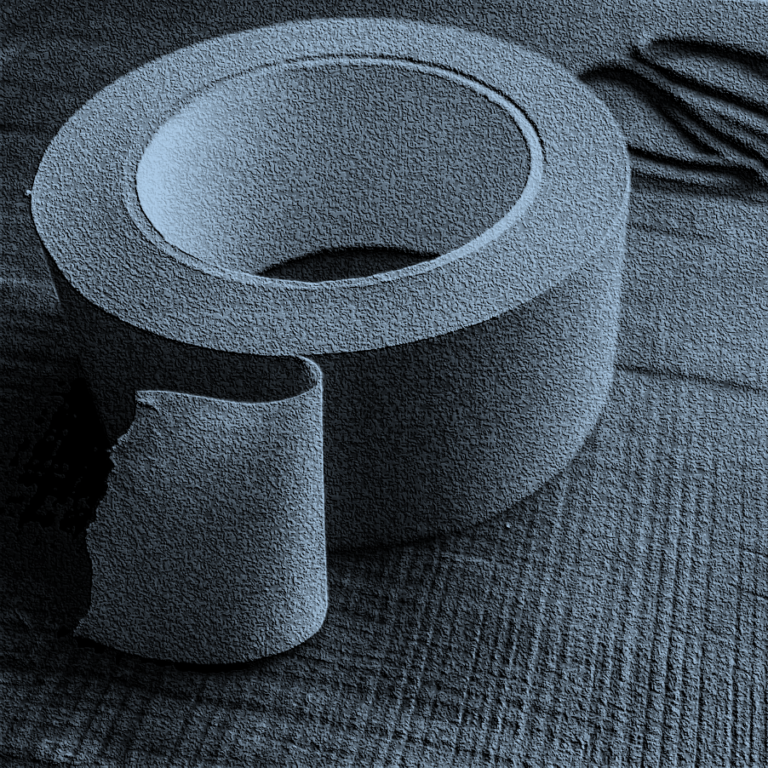
Original photo by Santi Mendez, adjusted with MSWord tools.
Set your T-square across either the inside or outside of the door to the center of the existing doorknob and measure. Set the T-Square to that measurement and mark it on your elevation line. This is your backset and that’s where you’ll drill your 2-1/8″ cross bore with your hole saw. Attach the 2-1/8″ hole saw bit to the arbor and drill from both sides. As your ¼” pilot bit comes out the other side of the door from whichever side you started, move to the other side and start again to create a clean hole from both sides. Do your best to keep the drill level.
Your blue tape is still on the edge of the door with the elevation line marked directly in the center. Put your 1″ Forstner or Paddle bit on that mark and bore a hole through the edge of the door into the cross bore — again doing your best to keep the drill level.
Take your new latch bolt out place it into the hole you just bored into the door edge. Keeping the faceplate straight vertically, use your 1/8″ drill bit to create pilot holes for the mounting screws top and bottom and secure the bolt itself to the door edge with your screwdriver. Why pilot holes? It’s to ensure the screws do not split the wood.
Use your razor knife — with blade fully extended — and trace around the faceplate, digging the blade into the wood so your chisel knows where to cut. Once completed, unscrew the bolt and remove it. You should see the vertical rectangle you created.
Pick up the hammer and 1″ chisel — flat side up – and align the cutting edge with the top horizontal border your razor created. Drive the border deeper into the wood with your chisel and hammer. Be aggressive because you’re removing a fair amount of wood. Reverse the chisel and do the same at the bottom.
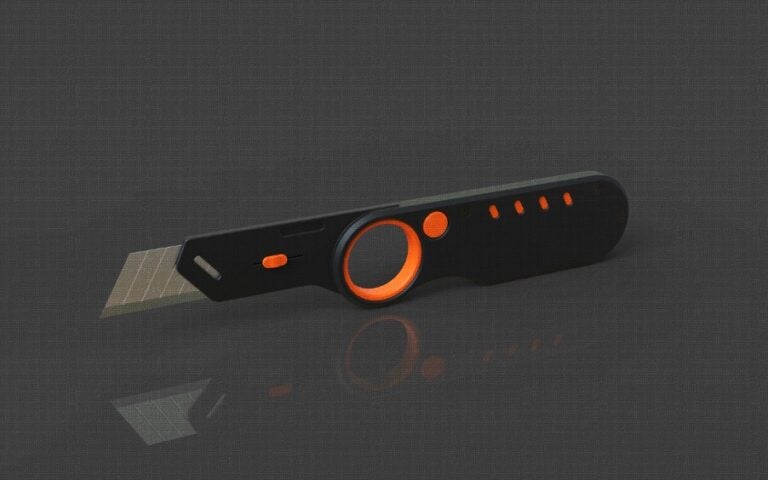
Photo by Kedibone Isaac Makhumisane.
Facing the vertical rectangle, you’ll see your vertical side cuts left and right. The fully flat side of your chisel always faces outward. Make gentle passes with your chisel and hammer from top to bottom to deepen the cut. Use the chisel alone to remove the side wood and continue chiseling out the wood within the vertical rectangle border. Use both sides of the chisel as necessary.
Continue checking with your latch bolt for the correct depth. The face of the bolt should be flush with the face of the door edge. This is called a mortise pocket. When it’s deep enough fasten the latch bolt to your newly created mortise pocket by drilling two 1/8″ pilot holes, top and bottom, through the latch bolt faceplate after insertion with the supplied screws.
See the tailpiece coming off of the outside part of the lock? Look at the bolt in the middle of the cross bore and you’ll see the direction ,or angle, the tailpiece needs to be in to go through it. With the latch bolt fully retracted in the unlocked position, turn the tailpiece so it matches that position — clockwise from the back of the lock. The tailpiece and latch bolt position work together. Now insert the tailpiece through the latch bolt and push the outside portion of the lock into the 2-1/8″ hole and onto the door, and hold it in place.
Place the inside mounting plate that came with the lock against the inside and, using your Phillips, secure it with its two provided mounting screws. Place the inside cover and thumb turn part over the tailpiece, retracted, and secure to the mounting plate with the two small, supplied screws.
The lock is now on the door. Test it with the key from the outside and the thumb turn on the inside. Does the latch bolt extend and retract easily? Hopefully it does.

Photo by Michał Bińkiewicz.
Time for the second-to-last step, and this where the lipstick comes in. Using the key, extend the latch bolt and rub lipstick on the end of it. Shut the door fully and move the latch bolt against the frame two or three times. Open the door and look for where the lipstick landed – that’s your drill point. Using either your 1″ Forstner or Paddle bit, drill a hole directly in the center of the lipstick deep enough for the bolt to fully extend. Close the door and test it. All good? Excellent!
Time for the final step: the strike plate! Installing this plate is exactly the same as mortising the lock bolt into the edge of the door. Use the same process after centering it over the hole you just drilled in the frame: centered vertical rectangle over the hole; 1/8″ pilot hole for the mounting screws; secure the strike to the frame; razor knife for the outline, then remove the strike and chisel out the mortise. Unlike the lock bolt, this mortise will be shallower. Just remove some wood and check the depth as you go until the strike plate is flush with the face of the frame. Secure the strike to the frame, close the door, and test.
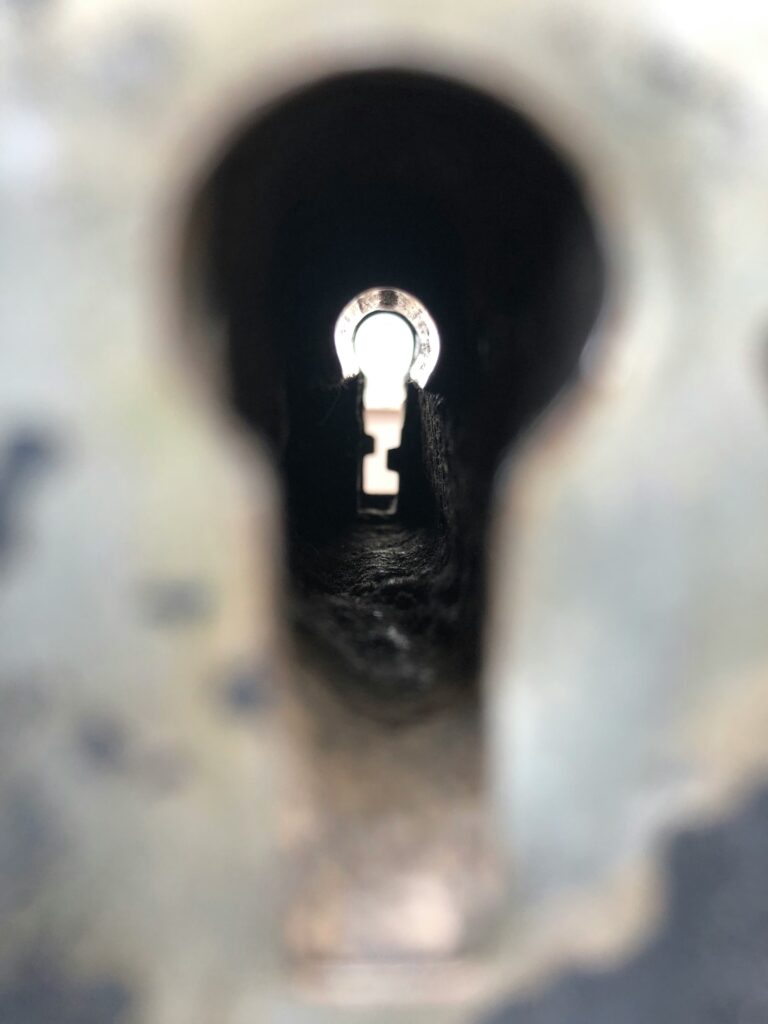
Photo by RM In.
All set? Fantastic! You’re hired!
Amazing just how many steps, and how many different tools, are involved in putting a lock onto a door. But now you know how, and you’ve also added just the right tools to your Ultimate Home Tool Kit if you ever need to do it again. And as a bonus, those added tools can be used for other projects too. Score! Don’t forget to clean up the woodshop mess you just made in your house!
About the Author

Matt Coddington is an award-winning commercial locksmith currently working and writing in San Diego. He is a former paperboy; a former avid collector of baseball cards, and a former musician and Drum Corps International world champion. He is sixty-three, single, and has no children. His next chapter—whatever it may be—is set to commence soon.
About the Images
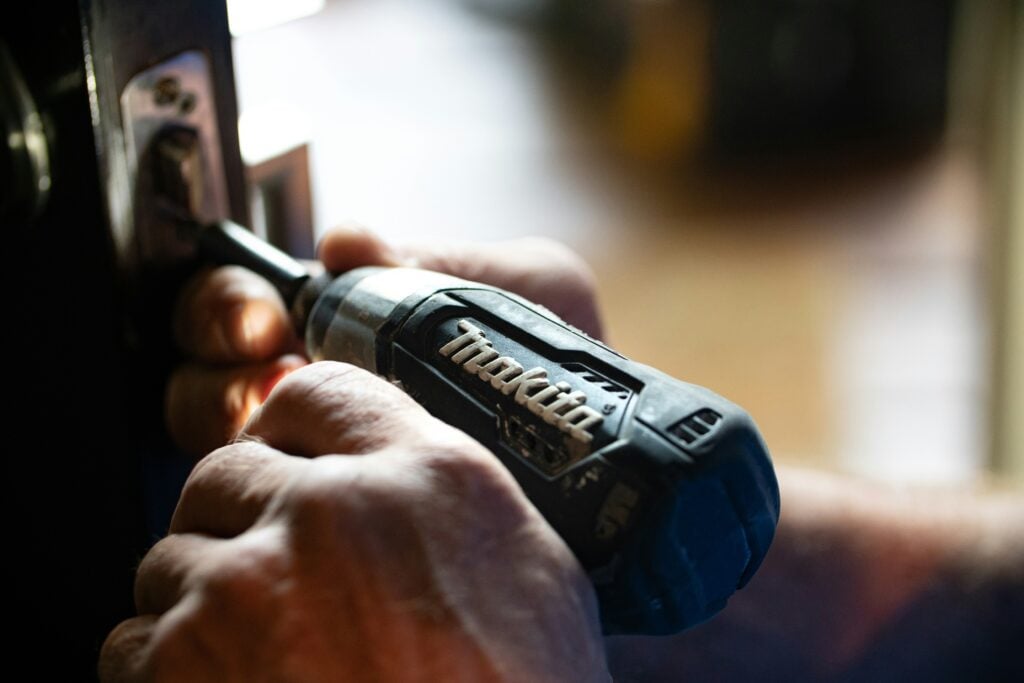
Frontispiece photo by Theme Photos
Background photo by Junkyardsparkle